Webflow offers a fantastic design and development platform, but one key element is missing: built-in website analytics. This can make it challenging to understand visitor behavior and website performance.
However, there's a solution! This article introduces Data Goat, a tool for tracking custom analytics directly in Webflow Designer.
Here's the benefit: Instead of switching between platforms or relying solely on external tools, Data Goat lets you analyze website data conveniently within your Webflow workflow.
What can you track with Data Goat? This article will explore the specific metrics you can access and how to leverage them to gain valuable insights into your Webflow creations.
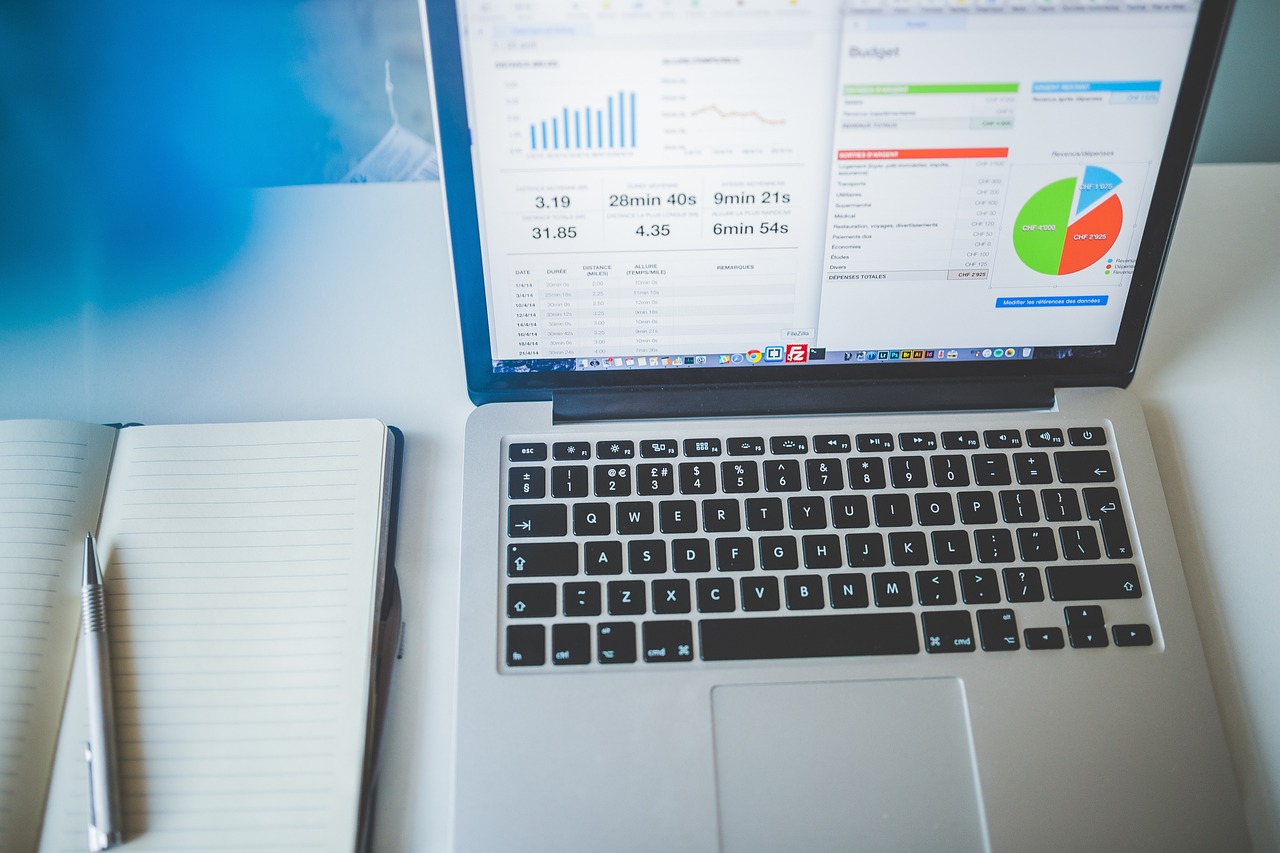
The Webflow Analytics Dashboard in Data Goat Explained
Here’s a brief overview of everything you can see via Data Goat’s dashboard.
- Tracking the number of new users and total visits to the website: This involves monitoring the number of unique visitors who are accessing the website for the first time (new users) as well as the total number of visits to the website, regardless of whether the visitors are new or returning.
- Device types from which visitors accessed the site: This tracks the types of devices (such as computers, tablets, or smartphones) that visitors use to access the website. This information is valuable for understanding user behavior and optimizing the website's design and functionality for different devices.
- Duration of user sessions on the website and the number of engaged sessions per user: This tracks how long users spend on the website during each visit (session duration) and measures the level of engagement by counting the number of sessions where users interacted with the site in some meaningful way, such as clicking on links or submitting forms.
- Number of users who viewed a form and how many users filled out the form; the conversion rate (filled out/viewed): This tracks the number of users who see a particular form on the website, the number of users who complete and submit the form, and calculates the conversion rate as the percentage of users who filled out the form among those who viewed it.
- A graph showing the number of visits/form submissions within a specified date range: This provides a visual representation (graph) of the number of visits to a specific form on the website and the number of submissions (filled out) that form received within a specified period, such as a day, week, or month.
- List of top-performing pages where the form is located: This identifies the pages on the website that have the highest conversion rates or the most form submissions, indicating which pages are most effective at driving user engagement or conversions.
- Link from which most users arrived at the specified form (Top Sources): This tracks the sources or channels through which users found and accessed the specific form on the website, such as organic search, social media, referral links from other websites, or direct traffic (typing the URL directly into the browser).
- Pages containing the form: This lists all the pages on the website where the specified form is located, making it easy to identify and analyze the performance of the form across different pages.
- Number of clicked links: This tracks the number of hyperlinks or buttons users clicked on while navigating the website, providing insights into user behavior and engagement with different website elements.
- Countries from which site visitors originate: This identifies the geographic locations (countries) of the website visitors, allowing businesses to understand their audience demographics and tailor content or marketing strategies accordingly.
- Ranking of pages by the number of users: This ranks the website pages based on the number of users who accessed each page, helping to identify the most popular or frequently visited pages on the website.
- Mediums and outbound: These terms typically refer to tracking the traffic sources and destinations, respectively. "Mediums" refer to the channels or sources through which users arrive at the website, such as organic search, paid advertising, social media, etc. "Outbound" refers to the external websites or pages users visit after leaving the website, providing insights into user navigation patterns and referral traffic.
Data Goat’s Plans for the Future
We aim to help Webflow users enhance their experience and drive growth with Data Goat; that’s why the team behind this app is continuously working on adding new features.
One aspect we'll focus on is the introduction of a feature that analyzes whether the number of impressions and conversions is on the rise or decline compared to previous periods.
Additionally, we're excited to introduce an insights feature for pages, where users will receive tailored suggestions to optimize their website experience, particularly in improving form performance. These recommendations will be powered by AI, ensuring cutting-edge solutions.
Furthermore, we’re considering the integration of various other analytics tools, including those from platforms like Facebook and Pinterest, to help users gain deeper insights into user behavior and engagement, propelling them towards their future goals.
Stay tuned for more updates on our journey ahead!
How to Get Your Own Webflow Analytics Inside Designer
Data Goat offers a streamlined installation process, allowing you to start tracking website data directly within Webflow Designer. Here's a step-by-step guide:
- Log in to your Webflow account and access the desired project in Webflow Designer.
- Navigate to the left-hand menu and click the "Apps" icon.
- Within the Apps panel, search for "Data Goat".
- Once located, click the "Install" button to add Data Goat to your Webflow project.
- After installation, you'll be prompted to sign up for a Data Goat account. You can choose to register with your email address or use your Google account for convenience.
- Data Goat utilizes Google Analytics 4 (GA4) for data collection. During the setup process, you'll need to authorize Data Goat to access your GA4 account. This connection allows Data Goat to fetch relevant website analytics.
- Once GA4 is authorized, you'll be presented with a list of your Webflow sites. Choose the specific site where you want to track visitor data using Data Goat.
Congratulations! You've successfully installed and connected Data Goat to your Webflow project.
Ensure you have a GA4 property set up for your website before proceeding with Data Goat installation.

.png)